Sunday, August 22, 2010

Papier Mache Necklaces using markers, paint, and varnish

With my first batch of papier mache, I allowed the varnishing to help create the finish.  It blended and swirled the colors into something very nice to look at.  With these beads I used permanent markers and silver and gold metallic ink markers.  Here are a few examples:


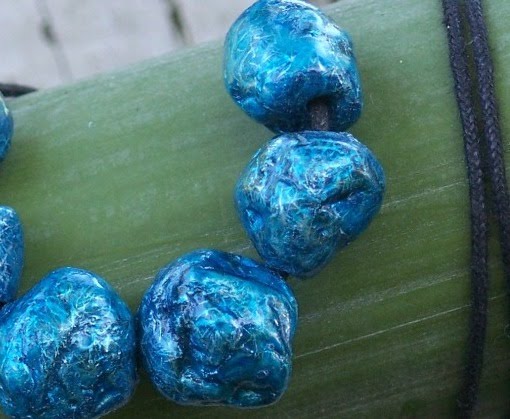
I've a new batch of papier mache (see photo's from first post) and these pieces are less pebble-like, the round beads are more uniform, and I've experimented with a few different shapes.  Initially, the necklace below was going to be made into a wind chime or mobile (using several discs instead of just these two), but I put a couple of the discs together and really loved the way it looked as a necklace. 

Here are a few pictures of the necklace.  After the painting had dried, I very, very lightly applied a varnish with a soft brush, and the design and colors remained intact.  I now believe a safer approach would be to use an artists fixative prior to the varnish.  I'm curious to see if there's a difference - I'll be sure to share the photos.

Wednesday, August 18, 2010

From Paper to Pulp, to bead, bowl, and chime

Shreds of recycled paper that have been soaking in water for 24+ hours.  I usually get this from someone nice who has a shredding machine and is really happy to give it away.

For this batch I've put the above mixture into a blender (not for food usage), and pureed.  I recommend using the pulse button, and you may need to add additional water.  Not to worry, the water will be squeezed out.  For my previous batch of papier mache, I skipped this step, and my forms were less regular or precise.  The beads from the previous batch turned out more like pebbles, which looked really cool when they were finished.


Here, I've squeezed out the excess water.

Water squeezed out, but prior to adding the papier mache paste.

Here is my paste.  Essentially it's flour, sugar, and hot water.  I've added lemon and wild cedarwood essential oils to serve as preservatives
Select an interesting dish, put a layer of plastic wrap around the outside of the dish.  Apply your papier mache to the plastic.  This may take a little time, keep in mind that the more finished this process, the less sanding that you'll need to do (of course, sanding is optional).  I discovered a couple of tiny holes, so make sure the entire piece is covered, but not thickly covered.

Here are beads that I've hand rolled.  I have a dehydrator and really love the time saved by using it to dry my pieces.  The beads above and chimes below are already dried.

I'm going to make chimes out of these papier mache pieces - circles and squares, and a few round balls.  Here I've already made holes for the string.  I prefer to ream, or make my holes prior to painting and decorating the papier mache.